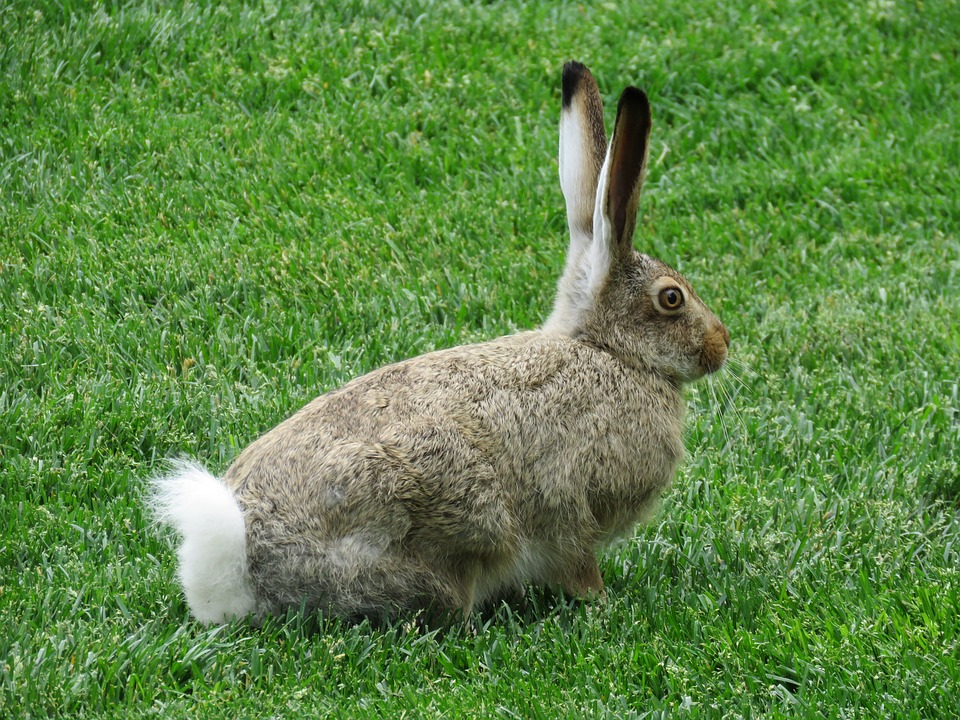
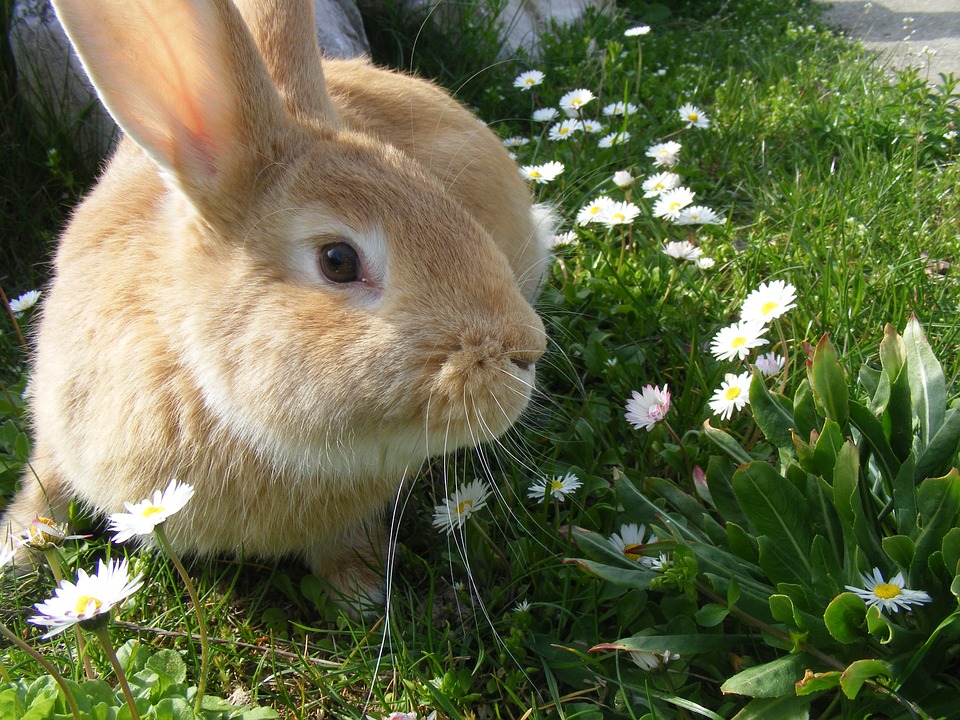
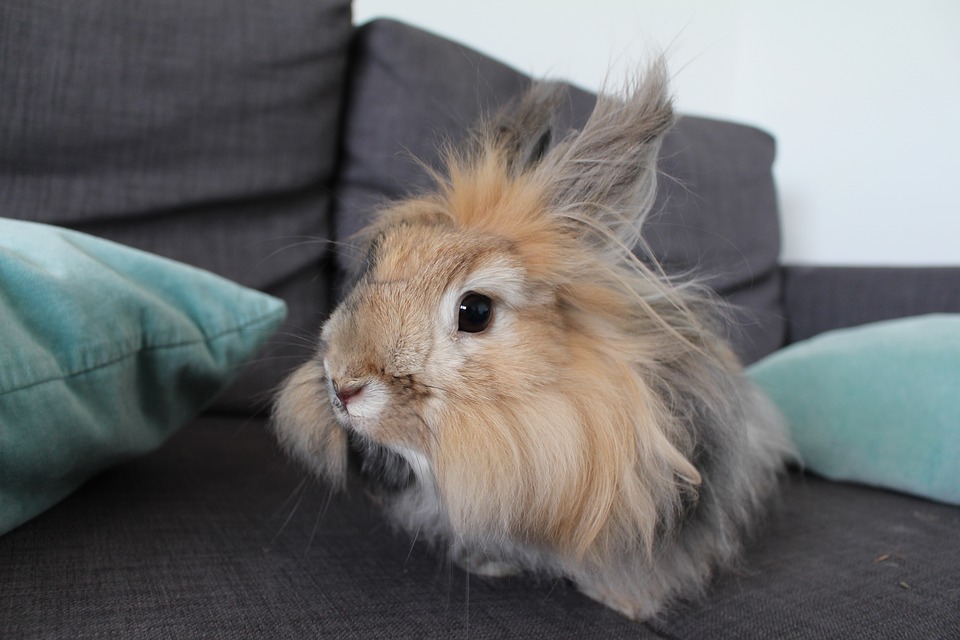
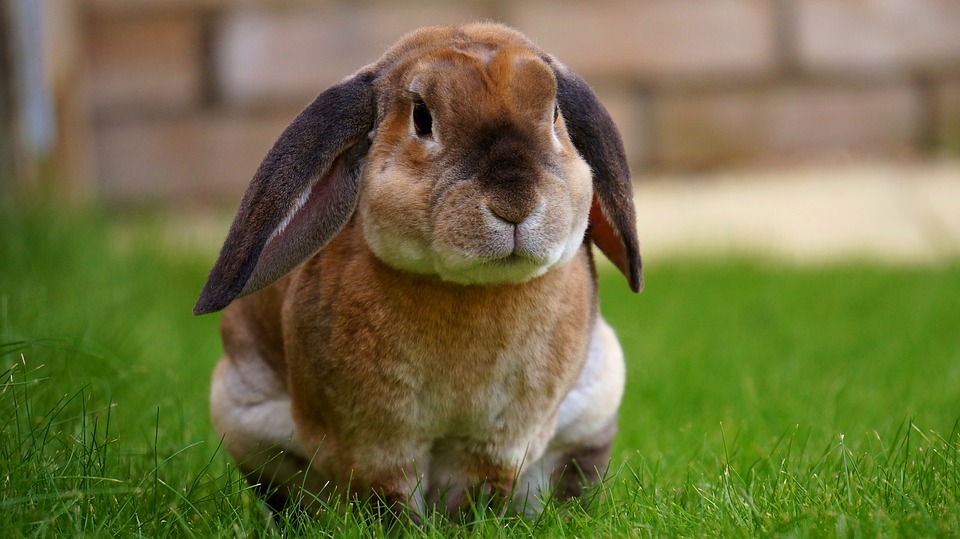
This comprehensive guide provides a detailed and informative approach to trimming your rabbit's nails safely and effectively. We'll cover everything from understanding the anatomy of rabbit nails and identifying the quick, to gathering the necessary tools, mastering the trimming technique, and offering aftercare advice. By following these steps, you can ensure a stress-free experience for both you and your furry friend.
Part 1: Understanding Rabbit Nail Anatomy
1.1. The Structure of Rabbit Nails
Rabbit nails, like human nails, are composed of keratin, a tough protein that grows continuously. They consist of two main parts:
Nail Plate: This is the visible, hard part of the nail that you trim.
Quick: This is the pink, fleshy part of the nail that contains blood vessels and nerves. The quick should not be cut as it will cause pain and bleeding.
1.2. Identifying the Quick
Knowing how to identify the quick is crucial for safe nail trimming. The quick is typically easier to see in rabbits with light-coloured nails, appearing as a pink or reddish area. However, for rabbits with dark-coloured nails, the quick can be more challenging to discern.
Visual Clues: Look for the pink area at the base of the nail.
Light and Magnification: Use a bright light or a magnifying glass to help you see the quick more clearly, particularly in dark-coloured nails.
1.3. The Importance of Trimming
Overgrown nails can lead to various problems for your rabbit, including:
Pain and Infection: Long nails can curl and grow into the paw pad, causing pain, discomfort, and potential infection.
Injury: Overgrown nails can easily catch on things, leading to injuries to the feet and legs.
Behavioral Issues: Long nails can make it difficult for rabbits to walk and jump comfortably, leading to behavioural changes.
Part 2: Preparing for Nail Trimming

2.1. Gathering the Necessary Tools
Before you begin, ensure you have all the necessary tools:
Nail Clippers: Use high-quality clippers specifically designed for small animals. Guillotine clippers are generally preferred for rabbits, as they provide a clean and precise cut.
Styptic Powder or Pencil: This is used to stop any bleeding if you accidentally cut the quick. You can find styptic powder at most pet stores.
Treats: Positive reinforcement is essential for making the trimming process enjoyable for your rabbit. Have some delicious treats on hand to reward them for good behaviour.
Towel: Place a towel on the surface where you will be trimming your rabbit’s nails to provide a secure and non-slip surface.
Flashlight or Magnifying Glass: These can be helpful for identifying the quick in rabbits with dark-coloured nails.
2.2. Choosing the Right Time
Timing is crucial for a successful nail trim. Select a time when your rabbit is relaxed and calm, as this will make the process much smoother.
Relaxed Rabbit: Ensure your rabbit is relaxed and calm before you start. This might be after they’ve had a meal or a playtime session.
Quiet Environment: Choose a quiet and comfortable environment for trimming. Avoid noisy areas or times when there is a lot of activity.
2.3. Desensitizing to Handling
Gradually introduce your rabbit to handling and the nail-trimming process to make them feel comfortable.
Regular Handling: Get your rabbit used to being handled regularly. Gently touch their paws and reward them with treats and praise.
Positive Association: Create a positive association with nail trimming by starting with brief and gentle handling sessions, gradually introducing the clippers and making it a fun experience with treats and praise.
Part 3: Getting Ready for the Trimming Process
3.1. Choosing a Safe and Comfortable Position
It’s important to choose a method that feels comfortable for both you and your rabbit.
Secure Positioning: One common method is to hold your rabbit with one hand supporting its body and the other hand holding the paw to be trimmed. This allows for a secure grip while ensuring the rabbit is comfortable.
Support the Body: Make sure to support your rabbit's body and keep them in a stable position to avoid any sudden movements that might cause discomfort or fear.
3.2. Identifying the Quick (Again!)
Visual Examination: Look at the nail and identify the quick. This may be easier if you use a bright light to illuminate the nail.
Avoid Cutting the Quick: Cutting into the quick will cause pain and bleeding. It’s vital to be able to identify the quick accurately before trimming the nail.
3.3. Using Nail Clippers Properly
Angle of the Clippers: Angle the clippers so that they are perpendicular to the nail. This ensures a clean and even cut.
Cutting the Nail Tip: Cut the tip of the nail, leaving about 1/8 inch of the nail remaining. Avoid cutting into the quick.
Avoid Over-Trimming: Trim the nails just enough to prevent them from becoming overgrown.
Part 4: Navigating the Trimming Process
4.1. The First Nail Trim
Start with a Single Nail: It's best to start with just one or two nails, gradually increasing the number as your rabbit becomes more comfortable with the process.
Positive Reinforcement: Reward your rabbit with treats and praise after each successful trim.
Take Breaks: If your rabbit seems stressed, take a break and try again later.
4.2. Dealing with Bleeding
Applying Styptic Powder: If you accidentally cut the quick, apply styptic powder or pencil to the bleeding area.
Pressing Firmly: Press firmly on the bleeding area for several seconds to help stop the bleeding.
Repeating if Necessary: Repeat this process if necessary until the bleeding stops.
4.3. Tips for a Smooth Experience
Calm Handling: Use gentle and calming techniques to help your rabbit feel comfortable and safe.
Speak in a Soft Voice: Use a soothing voice and gentle handling.
Wrapping in a Towel: If your rabbit is particularly nervous, consider wrapping them in a towel to create a sense of security.
Part 5: Aftercare and Maintenance
5.1. Offering Treats and Praise
Positive Reinforcement: Reward your rabbit with treats and praise after each successful trimming. This will help your rabbit associate nail trimming with positive experiences and make them more cooperative in the future.
5.2. Monitoring for Signs of Infection
Observe for Swelling: Monitor your rabbit's paws for any signs of swelling, redness, or discharge.
Contact a Veterinarian: If you notice any signs of infection, contact your veterinarian immediately.
5.3. Determining the Frequency of Trimming
Regular Trims: How often you trim your rabbit's nails depends on their individual growth rate.
Average Frequency: Most rabbits need their nails trimmed every 4-6 weeks.
Signs of Overgrown Nails: If you hear your rabbit's nails clicking on the floor or notice them catching on things, it's time for a trim.
Part 6: Addressing Common Questions and Concerns
6.1. What if I can’t trim my rabbit’s nails myself?
If you are unable to trim your rabbit's nails yourself due to lack of confidence or your rabbit's resistance, you can consult a veterinarian or a qualified rabbit groomer. They have the experience and expertise to trim your rabbit's nails safely and effectively.
6.2. Why is it important to trim my rabbit’s nails?
Overgrown nails can cause a variety of problems for your rabbit, including:
Overgrown Nails: Overgrown nails can curl and grow into the paw pad, causing pain and infection.
Injury: Overgrown nails can easily catch on things, leading to injuries to the feet and legs.
Behavioral Problems: Long nails can make it difficult for rabbits to walk and jump comfortably, which can lead to behavioural problems.
6.3. How can I tell if my rabbit’s nails are too long?
Clicking Sounds: If you hear your rabbit's nails clicking on the floor when they walk, their nails are likely too long.
Catching on Things: If your rabbit's nails are catching on things, it's time for a trim.
Painful Toes: If you notice your rabbit limping or favouring one paw, their nails may be too long.
6.4. Can I trim my rabbit’s nails at home?
Yes, you can trim your rabbit's nails at home. However, it is important to learn the correct technique and to be prepared for potential challenges. It is also important to be confident in your ability to handle your rabbit safely.
6.5. My rabbit is really scared of nail trimming. What can I do?
Start Slow: Start by getting your rabbit used to handling their paws.
Positive Reinforcement: Associate nail trimming with positive experiences by giving your rabbit treats and praise.
Consult a Professional: If your rabbit is extremely fearful, consider consulting a veterinarian or a qualified rabbit groomer.
6.6. What if I accidentally cut the quick?
If you accidentally cut the quick, apply styptic powder or pencil to the bleeding area. Press firmly on the bleeding area for several seconds to help stop the bleeding. If the bleeding doesn't stop, consult your veterinarian.
6.7. Can I use human nail clippers for my rabbit?
It’s best to use clippers specifically designed for small animals. Human nail clippers are too large and can cause injury.
6.8. How can I make nail trimming more enjoyable for my rabbit?
Make it a Routine: Regularly trim your rabbit's nails, even if they don't seem too long, so they become accustomed to the process.
Use Positive Reinforcement: Reward your rabbit with treats and praise after each successful trim.
Create a Calm Environment: Choose a quiet and comfortable space for trimming.
Desensitization: Gradually introduce your rabbit to the clippers and the process of trimming.
Part 7: Resources
Your Veterinarian: Your veterinarian is a valuable resource for information and advice on rabbit nail trimming.
Rabbit Clubs and Associations: Rabbit clubs and associations often offer educational resources and workshops on rabbit care, including nail trimming.
Online Resources: There are numerous online resources that provide information on rabbit nail trimming. However, it's essential to rely on reputable sources.
Remember, patience and gentle handling are key to a successful nail trim. By following these steps and taking things slowly, you can ensure a comfortable and positive experience for both you and your furry companion.
Everyone is watching
-
Do Rabbits Lay Eggs? (The Surprising Truth)
OTHER TYPES OF PETSThis article will unravel the common misconception that rabbits lay eggs, exploring the fascinating world of r...
-
What's a Group of Rabbits Called? (A Comprehensive Guide)
OTHER TYPES OF PETSThis article delves into the fascinating world of rabbits, exploring the various terms used to describe a grou...
-
Can Rabbits Eat Grapes? A Guide to Safe Rabbit Treats
OTHER TYPES OF PETSThis comprehensive guide will explore the safety and suitability of grapes for rabbits, providing detailed inf...
-

Predators That Hunt Rabbits: A Guide to Natural Enemies
OTHER TYPES OF PETSI've always been fascinated by the circle of life, that delicate dance between predator and prey. Growing up ...
-
Are Rabbits Nocturnal Animals?
OTHER TYPES OF PETSThe question of whether rabbits are nocturnal animals is a fascinating one, with a surprisingly complex answer...